Part 6: SQL Server Install.
Part 1: Preparing the environment
Part 2: Installing Windows Server 2012
Part 3: Adding Active Directory Domain Services
Part 4 : Configure DNS
Part 2: Installing Windows Server 2012
Part 3: Adding Active Directory Domain Services
Part 4 : Configure DNS
In the Part 1 of this series we saw how to create a VM with Windows Server 2012. In part 2 we continued with server 2012 install and renaming the our VM. In Part 3 we enables Active Directory Domain Services in the server and in Part 4 we looked at configuring DNS in the server. The first 4 parts completes the system preparation for installing SharePoint. At this time before we start out SharePoint installation process please run windows update and check for new updates so that we have latest updates for all the roles that was enabled. In Part 5 of this series we saw what user accounts for service application and SQL server accounts are needed and their permissions.
Once we are through with all our updates we are ready to get going. In part 6 we'll be seeing how to get SQL server installed. Since the VM we are building is a development machine we will be installing SQL server in the same machine.
SharePoint 2013 can be installed on SQL Server 2008 R2 (64-bit) but in our series we are using 2012 products and in the same line we will use SQL Server 2012. SharePoint 2013 runs on 64 bit architecture and hence everything goes without saying as 64-bit.
Download SQL server 2012 from Microsoft or if you have msdn you can download it from there too. We will use enterprise edition in our tutorial. If you have SQL product key use that key or you can buy a new key. If you just going to create a VM for practising you can use trial version too.
Start the SQL Server setup. you will be asked to enter License Key. Enter your license key if you have one or use evaluation version and click Next

Accept License terms and click next

Check the checkbox to include SQl Server updates and click next

Click install and wait for setup to complete


Click Next and choose SQL server feature installation

Click
Next and choose all the features that you want. I am just going to
install Database Engine Services.Once done selecting all the features
that you want to be added click next

Setup will run a quick installation rules to make sure installation will go through fine. once done click next

Select default instance and click next

Setup will calculate disk space requirement and click next

Now in this step we will be prompted to enter service accounts. We will use the SQL service account to run SQL Server service

Accept default server configuration and add current user and SharePoint setup account user as administrator and click next

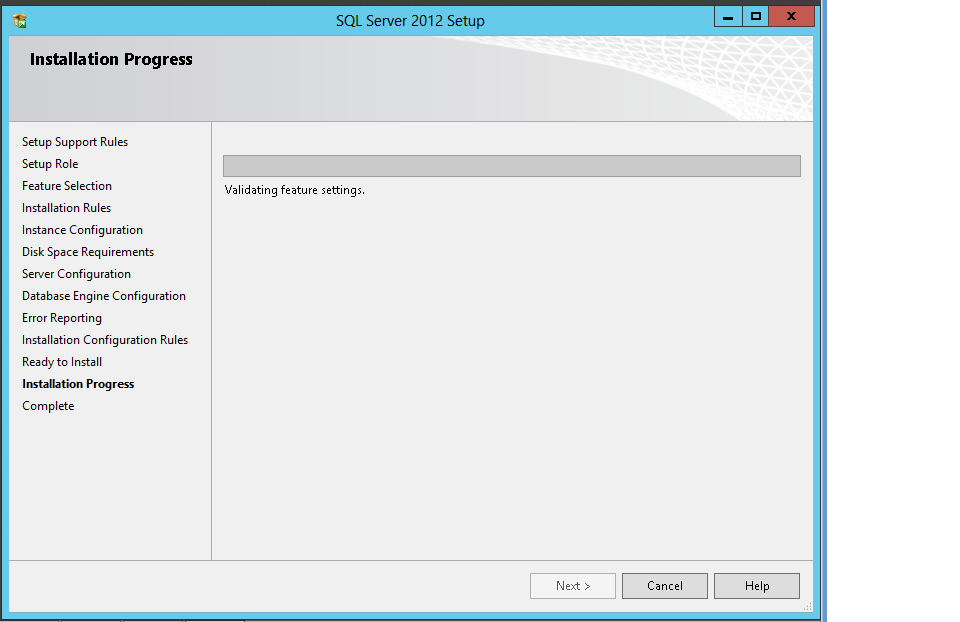
Keep clicking next until you hit ready to install step and click install in this step and let it run


it
should take few minutes to complete the install and once completed
everything should be installed and you can close the setup


Now we have SQL server 2012 installed and we are a step closer in achieving our target of SharePoint 2013.
Post your feedback in comments.